You want an open-source IdP solution, such as Authentik, to provide Single Sign On access to your content management system or other SaaS based applications.
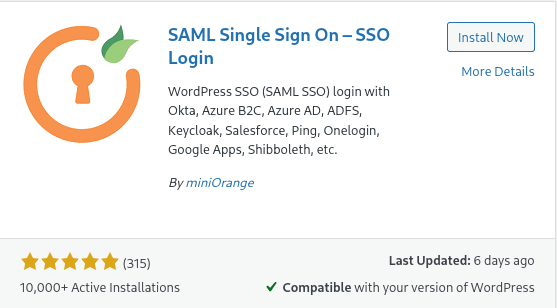
This post assumes that you already have an Authentik and WordPress instance running, or at least have some familiarity with them. Install and activate the MiniOrange SSO plugin for WordPress by navigating to Plugins > Add Plugins and searching for the plugin using the image below.
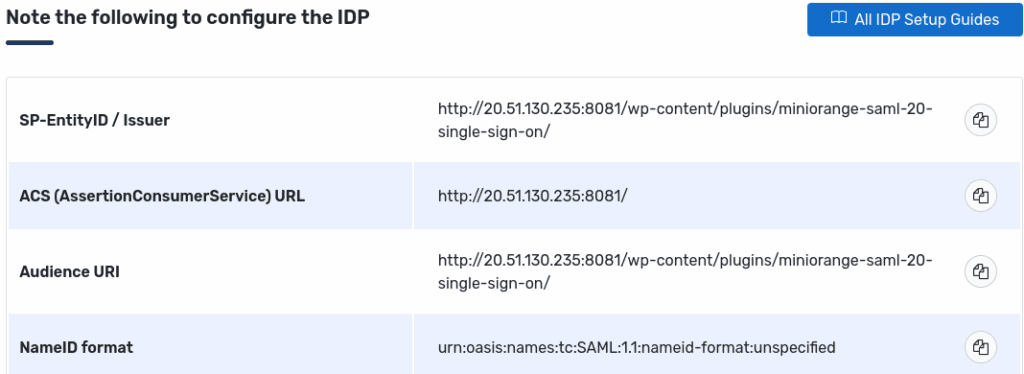
Go to the plugin settings and copy the Issuer, ACS, and Audience URLs under Service Provider Metadata.
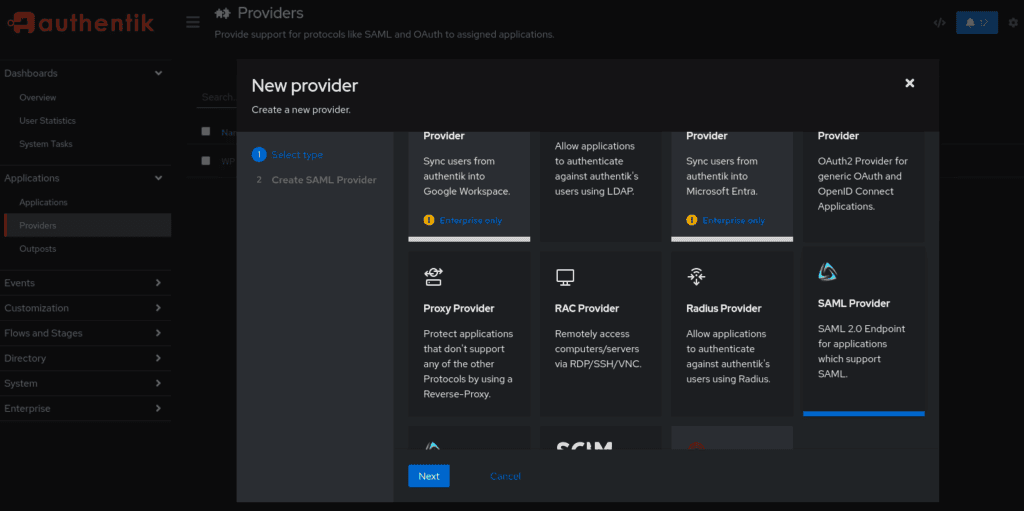
Log in to Authentik and navigate to Providers > Create > SAML 2.0.
Create the Service Provider
default-implicit-consent.Post.Advanced Flow Settings
data-provider-invalidation-flow.Protocol Settings
NameID Property Mapping
Leave everything else at their defaults and click finish. The provider will complain about not being attached to an Application.
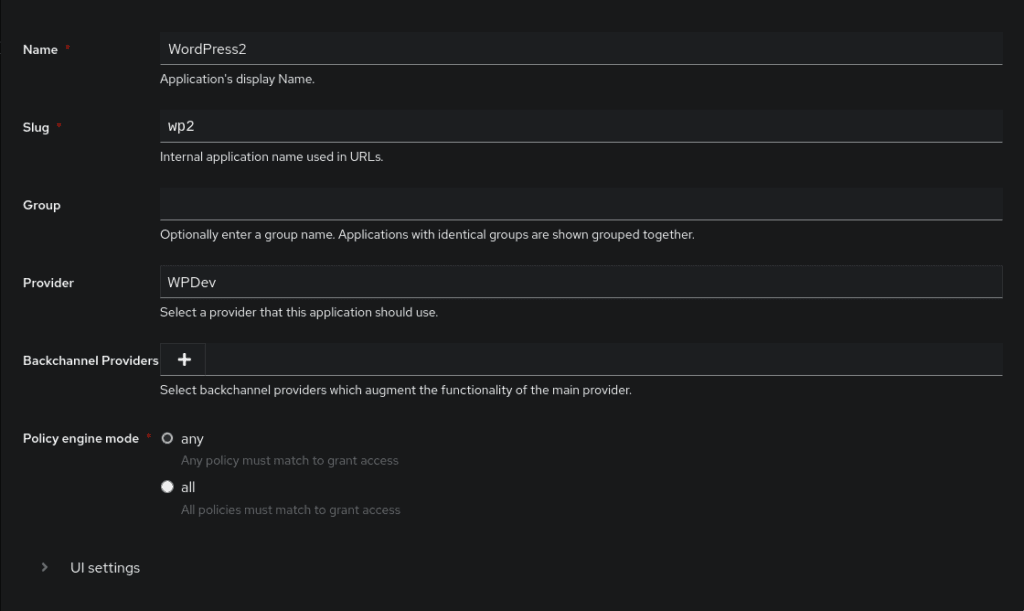
Click on Applications, Create, and choose a name for this application. Choose a slug and select the Provider that you created in the previous step and click finish.
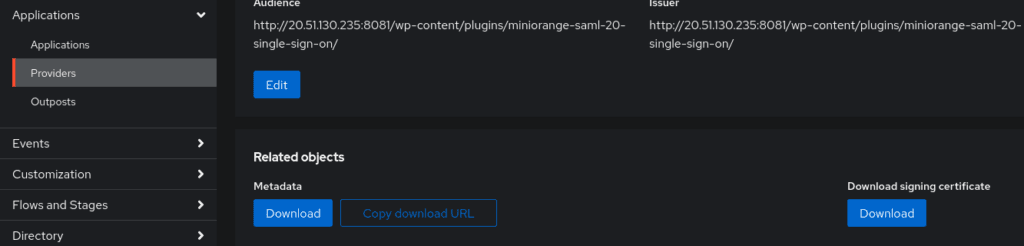
If you return to your Provider settings, you can download the metadata file. Download it and navigate to Configure Service Provider settings in WordPress. Select ‘Upload metadata’ and then upload the XML file. It will populate the settings for you.

Select “Test Configuration” at the bottom of the screen. If everything goes well, you should receive a ‘Test Successful’ message with attribute mapping information. Save your configuration.

You can create Users and Groups by navigating to the Directory section in Authentik. To assign an application to a group, go to that application and select Policy/Group/User Bindings. Sign in to Authentik with your newly created user and click on the application.
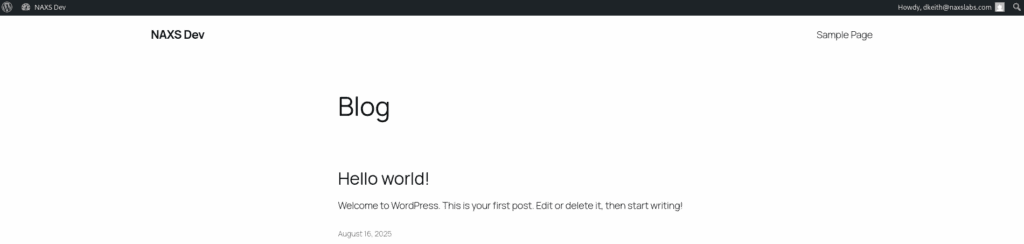
Short of the warnings about TLS, the user will be logged into WordPress.

© NAXS Labs All Rights Reserved
