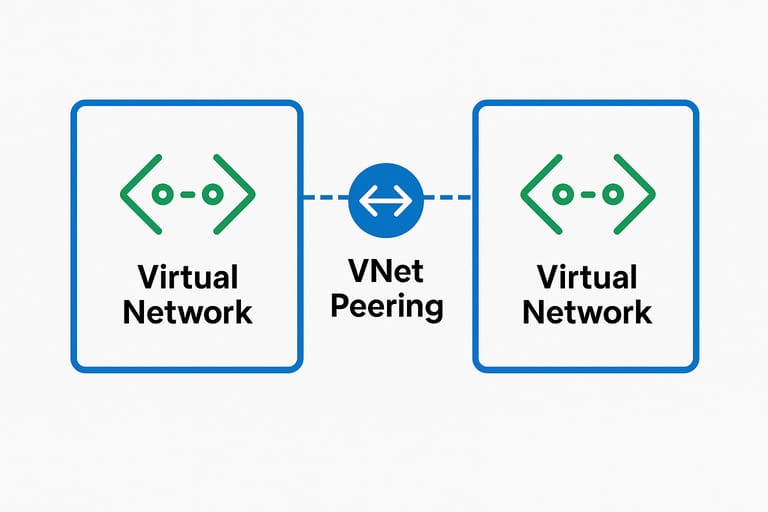
Subnets on the same Azure vNet can communicate by due to default rules in the network security group. But what happens when you need subnets from separate vNets to talk to each other? Azure vNet peering is a way to allow communicate between subnets on different vNets, even if those vNets are in different tenants.
Use the Azure search function to create multiple virtual networks. I’ve created three: vNet1, vNet2, and vNet3 with different subnets on each. The address space for peered subnets can’t overlap in any way. For example, you can’t use 10.0.1.0/24 on vNet 1 and a 10.0.1.0/27 on vNet 2 if you plan for them to communicate.
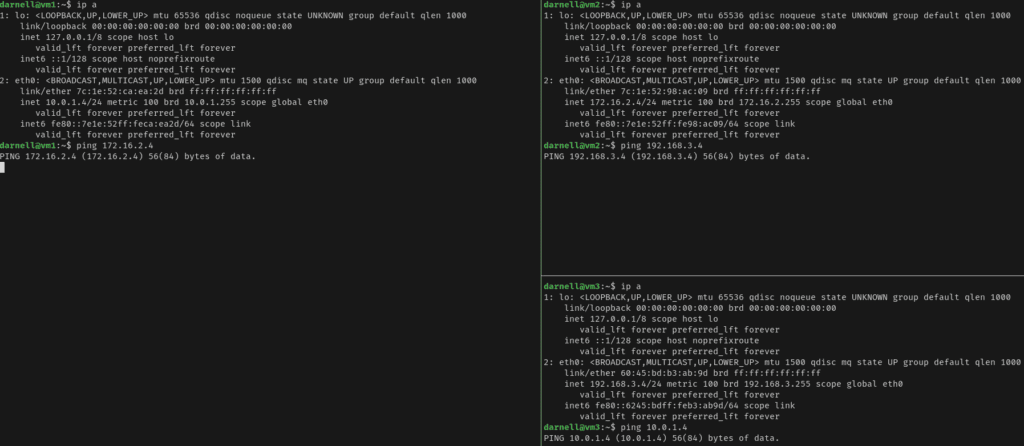
Create virtual machines and place them in their respective resource groups. I’ve used three Ubuntu machines to speed up the process. Before configuring vNet peering, these three virtual machines can’t communicate since there are no routes.
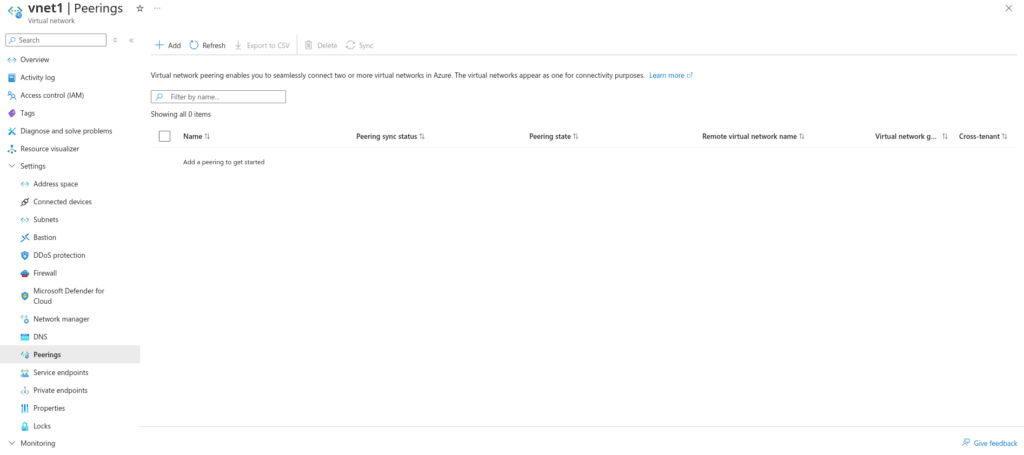
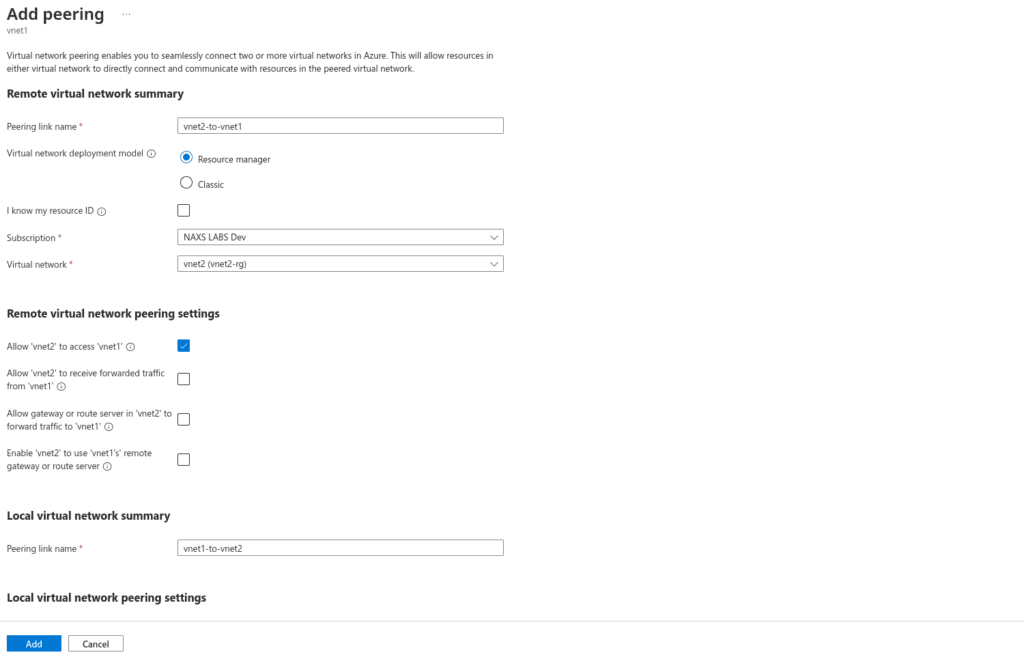
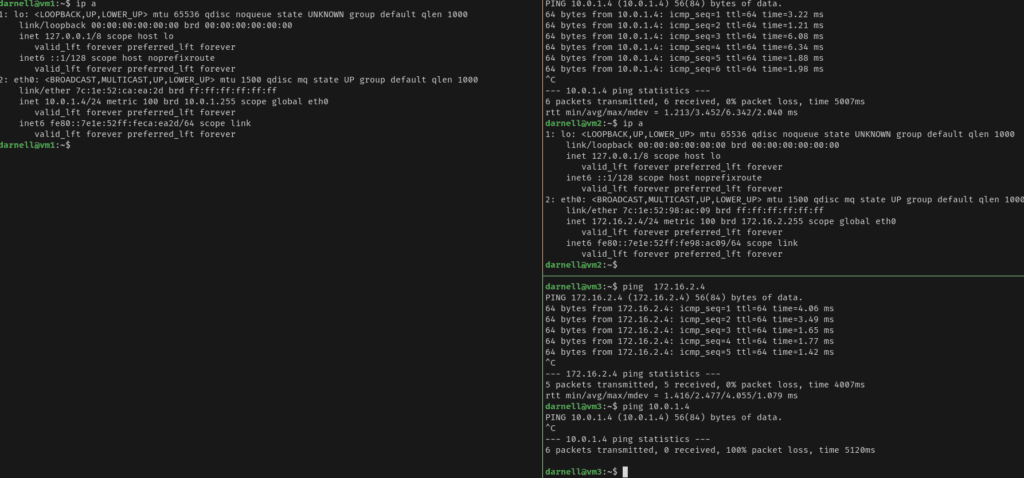
Go to vNet 1 settings, then to peering and click add to configure peering. Peering should be configured both ways, so the second image below basically shows a route being created between vNet1 and vNet2. If you have more vNets, you’ll need to configure each one that you want peered. There is no transitive routing; vNet3 can’t access vNet1 simply because they’re both connected to vNet2.
In the first image, vNets 1 and 2 have connectivity between them but vNet3 can’t reach either subnets.
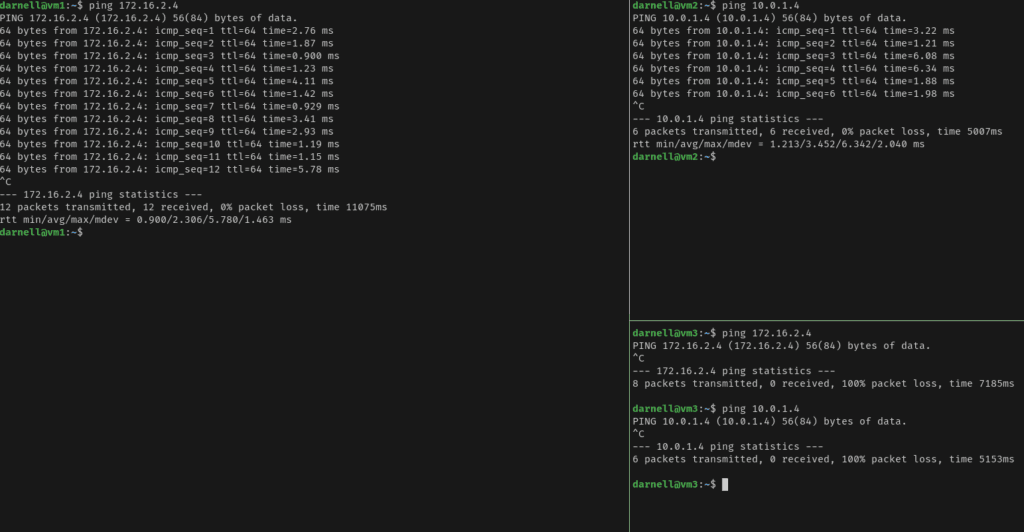
In the following image, vNet3 and vNet2 can reach each other, but not vNets 1 and 3, showing that there is no transitive routing.
© NAXS Labs All Rights Reserved
