Single Sign-on with Authentik and SAML 2.0
Enable Single Sign-On for WordPress using open-source Authentik Identity Provider
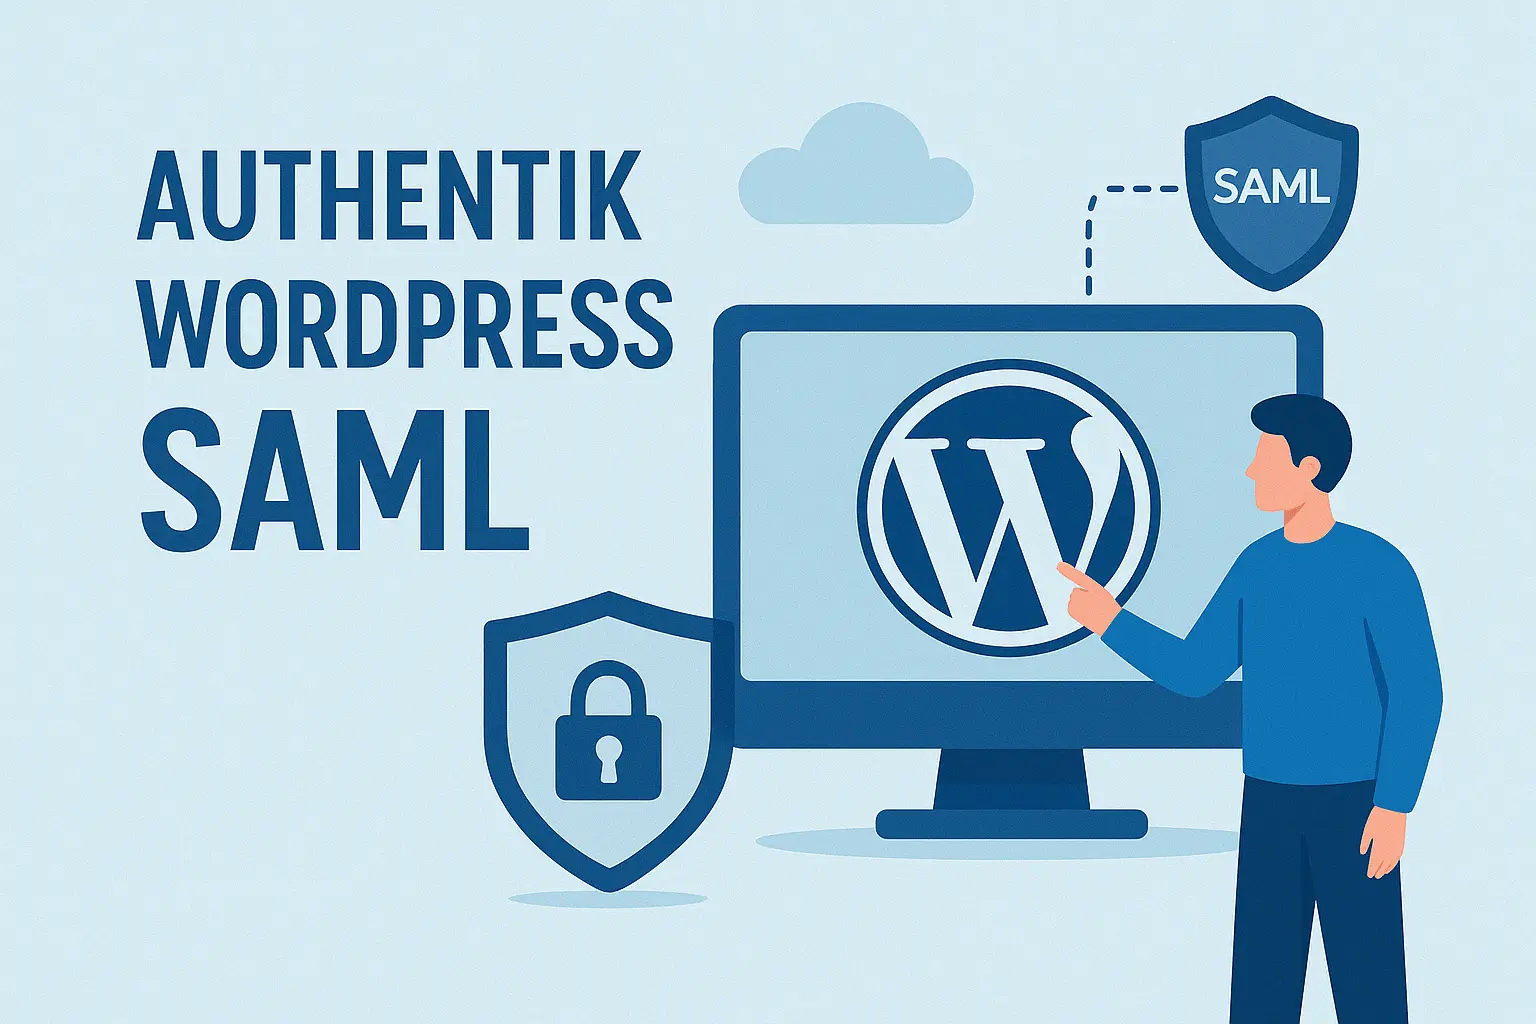
Authentik is a powerful open-source Identity Provider (IdP) that enables Single Sign-On (SSO) access to web applications, content management systems, and SaaS platforms. This guide demonstrates integrating Authentik with WordPress using SAML 2.0 authentication for centralized user management.
Prerequisites
- Docker environment with running Authentik instance
- WordPress installation with admin access
- Basic understanding of SAML authentication concepts
Step 1: Configure WordPress SAML Plugin
Install MiniOrange SSO Plugin
# Install Plugin
1. Navigate to Plugins > Add New in WordPress admin
2. Search for "MiniOrange SSO"
3. Install and activate the plugin
Collect Service Provider Metadata
# Collect Required URLs
1. Go to WordPress Admin > MiniOrange SSO > Plugin Settings
2. Copy from Service Provider Metadata section:
   - Issuer URL
   - ACS (Assertion Consumer Service) URL
   - Audience URL

# Keep these URLs accessible for Authentik configuration
Step 2: Create SAML Provider in Authentik
Access Authentik Admin Interface
# Create SAML Provider
1. Log into your Authentik admin panel
2. Navigate to Providers > Create > SAML 2.0
Configure SAML Provider Settings
Basic Configuration
Name: WordPress-SAML
Authorization Flow: default-implicit-consent
ACS URL: [Paste from WordPress plugin]
Issuer: [Paste from WordPress plugin]
Service Provider Binding: Post
Audience: [Paste from WordPress plugin]
Advanced Settings
# Flow Settings
Invalidation Flow: default-provider-invalidation-flow

# Protocol Settings
Signing Certificate: authentik Self-signed Certificate
✓ Enable: Sign assertions
NameID Property Mapping: authentik default SAML Mapping: Email
Step 3: Create Authentik Application
Create New Application
# Create Application
1. Navigate to Applications > Create
2. Configure application settings:
   Name: WordPress SSO
   Slug: wordpress-sso
   Provider: [Select the SAML provider created in Step 2]
Download Metadata
# Download Metadata
1. Return to Providers and select your WordPress SAML provider
2. Click "Download Metadata" to save the XML file
Step 4: Complete WordPress Configuration
Upload Metadata to WordPress
# Upload Metadata
1. Return to WordPress MiniOrange SSO plugin settings
2. Navigate to Configure Service Provider
3. Select "Upload Metadata"
4. Upload the XML file downloaded from Authentik
5. Plugin will automatically populate IdP settings
Test Configuration
# Test Configuration
1. Click "Test Configuration" at bottom of plugin settings
2. Successful test should display:
   - "Test Successful" message
   - Attribute mapping information
3. Save your configuration
Step 5: User Management and Testing
Create Users in Authentik
# Create Test User
1. Navigate to Directory > Users > Create
2. Create test user with valid email address
3. Set temporary password for initial login

# Configure Application Access
1. Go to Applications > WordPress SSO
2. Select Policy/Group/User Bindings
3. Add user or group bindings as needed
Test SSO Flow
# Test SSO Flow
1. Open new incognito/private browser window
2. Navigate to WordPress login page
3. Look for SSO login option or button
4. Click SSO login - should redirect to Authentik
5. Sign in with Authentik credentials
6. Should redirect back to WordPress and auto-login
Troubleshooting Common Issues
SAML Response Issues
- Invalid signature: Verify certificate configuration
- Invalid destination: Check ACS URL matches exactly
- Clock skew: Ensure server times are synchronized
WordPress Plugin Issues
- No SSO button: Check plugin activation and configuration
- Attribute mapping: Verify email mapping in Authentik provider
- Permission errors: Ensure user has appropriate WordPress roles
Authentik Configuration Issues
- Application not accessible: Check user/group bindings
- Invalid metadata: Re-download and re-upload metadata files
- Flow errors: Verify authorization flow configuration
Conclusion
This integration provides centralized authentication management, improved security through reduced password exposure, and enhanced user experience with seamless Single Sign-On. Authentik’s open-source nature makes it an excellent choice for organizations seeking cost-effective identity management solutions.
Next Steps: Consider implementing multi-factor authentication, configuring additional attribute mappings for user roles, and exploring Authentik’s policy-based access controls for enhanced security.


