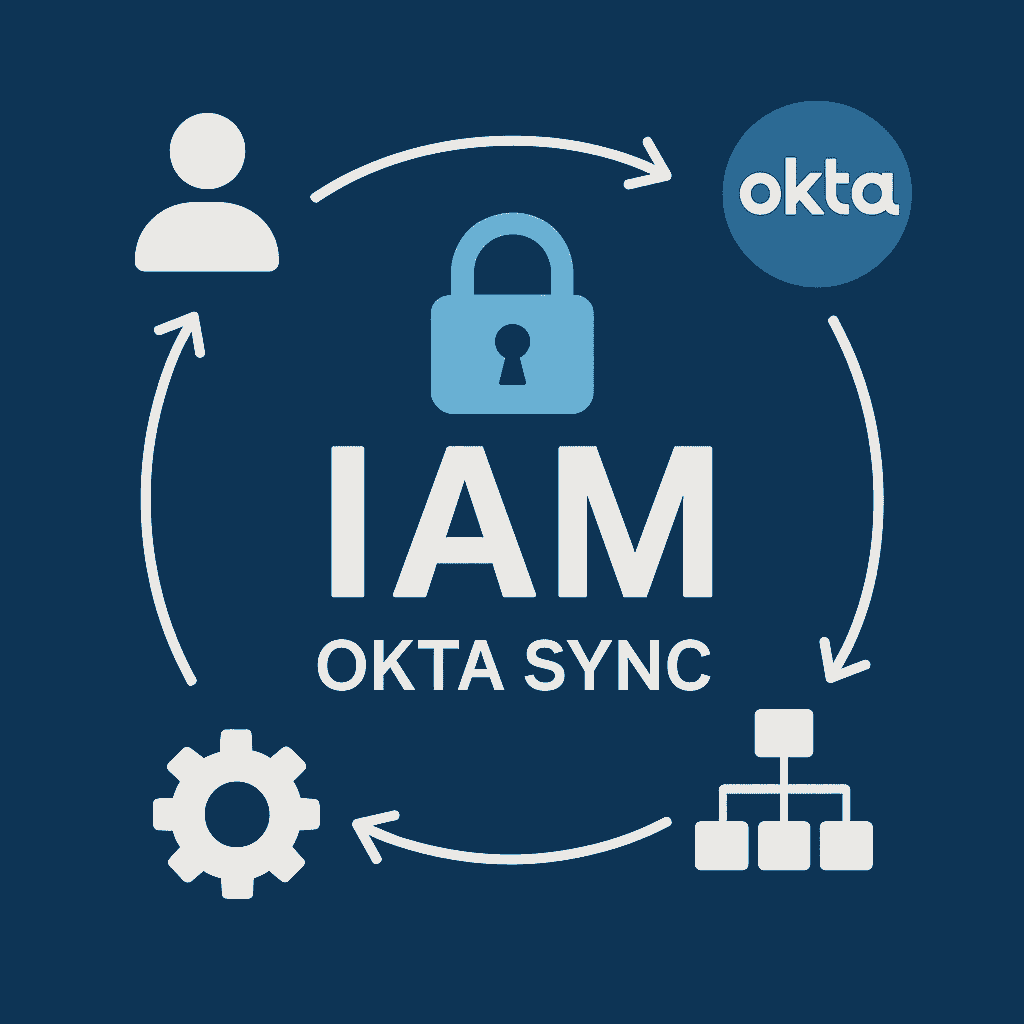
As more companies move into the Cloud there is still a need to manage on-premise identities while providing access to both legacy and SaaS based applications. Okta’s Active Directory Integration can synchronizes identities from your existing AD infrastructure to Okta (or vice-versa), enabling you to preserve your user management processes in Active Directory while extending modern authentication capabilities.
Log in to Active Directory and create an organizational unit for the synced accounts. Ideally, the UPN for your identities should end in a domain with email services. If you have one, but your domain ends with something different like .local, you can add another one like this:
Get-AdForest | Set-ADForest -UPNSuffixes @{add="naxslabs.com"}
Okta usernames require the form of an email address and the user must be able to receive an activation email. If you don’t have one then we can change the settings later.
Download the sync agent for Active Directory under the Directory Integration tab of your Okta Administration dashboard. For testing purposes you can install the agent on the domain controller, but it is recommended they (at least two for high availability) are installed on member joined servers instead.
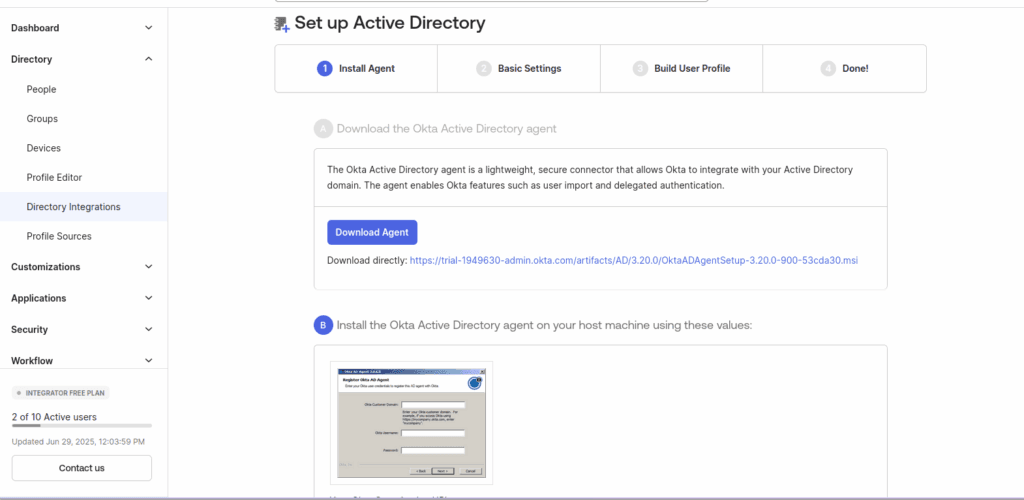
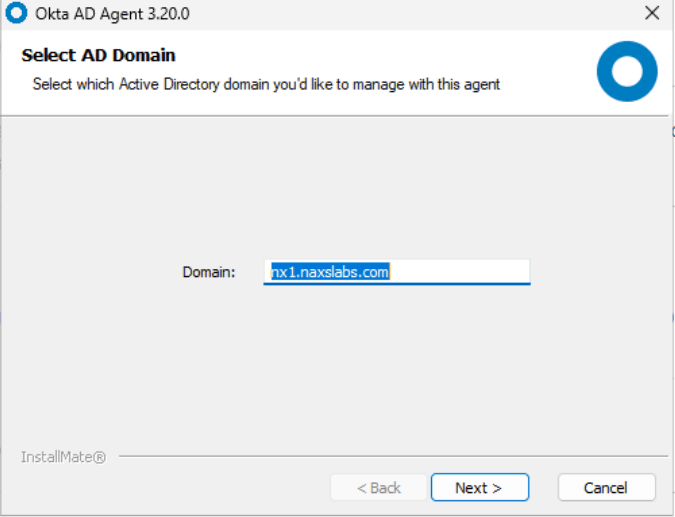
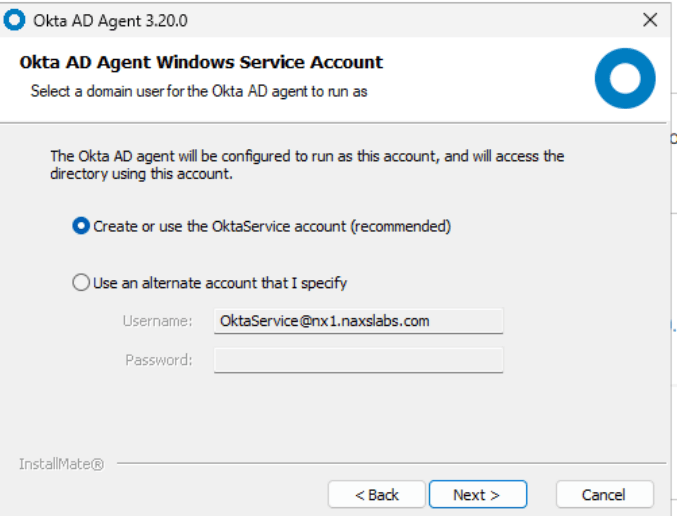
Copy your Organization URL and begin the installation wizard. The installation prompts for configuration details: the AD domain to sync if you have multiple, whether to allow the creation of the service automatically, proxy settings (if required), and your organizational URL. After completing these steps, you’ll receive an activation code and link to proceed with activation.

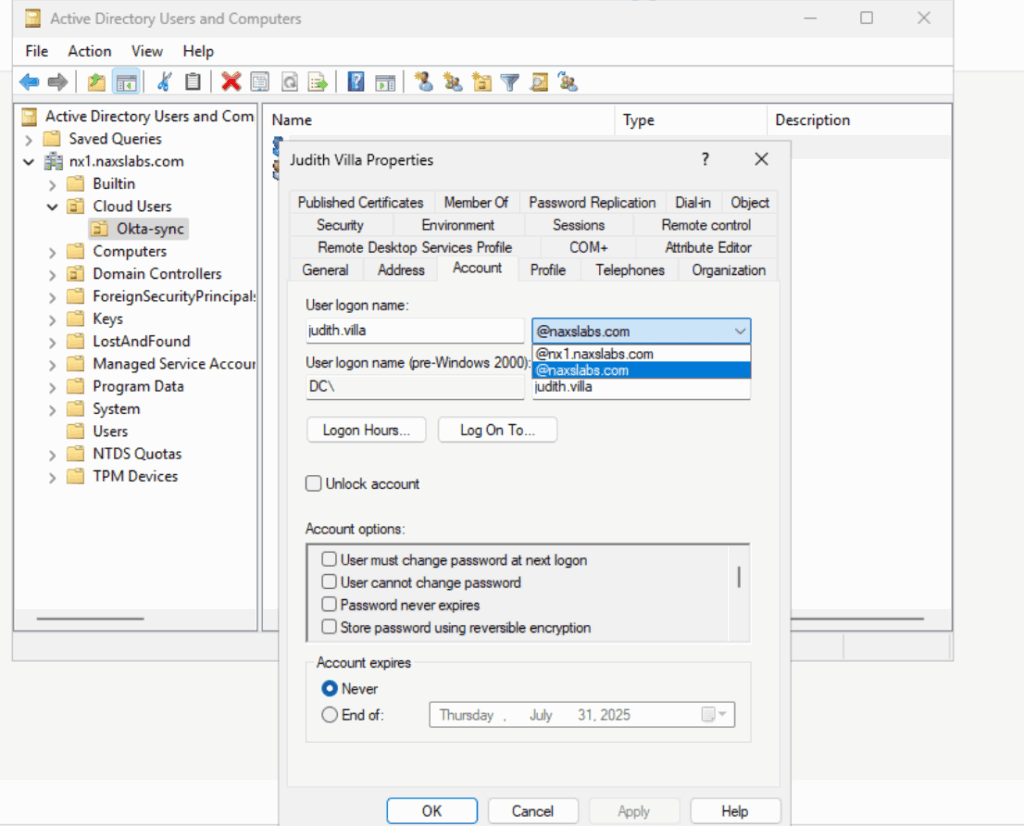
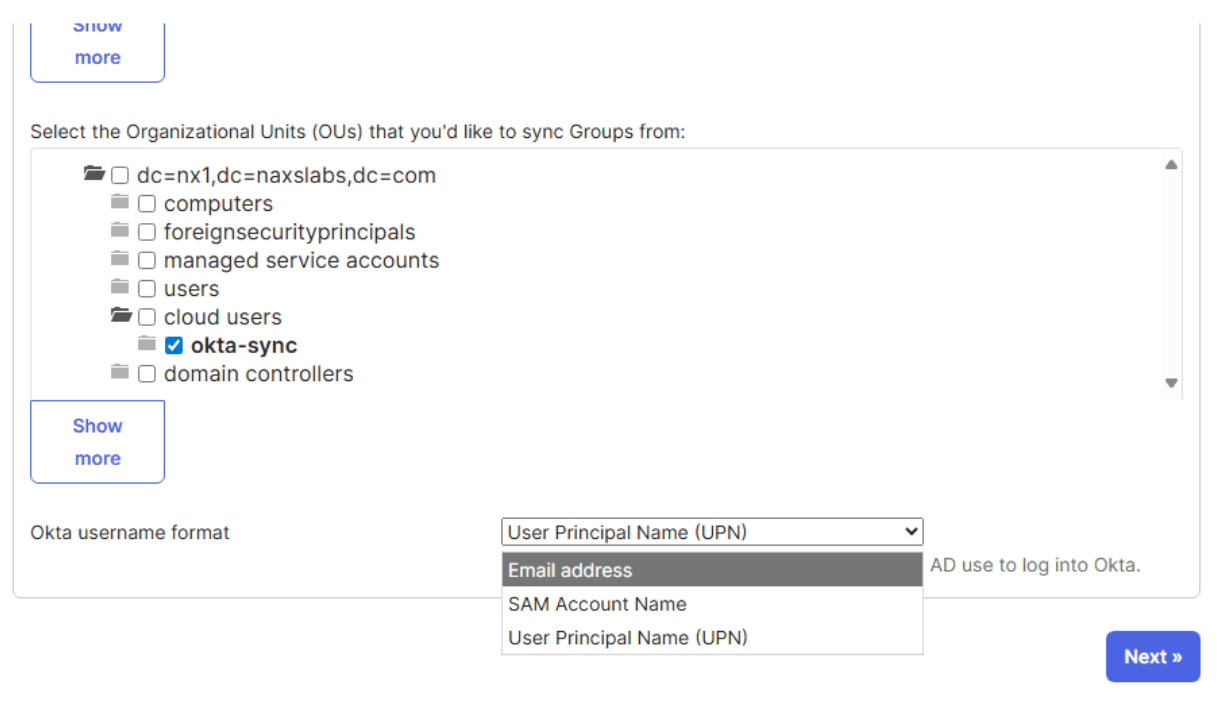
After the activation is complete, you need to select the OU to sync and the username format. If your AD domain has email services choose UPN. If not, then select email and update the email addresses for your users.
Click Next to and allow Okta to scan and map attributes from AD to Okta. Navigate to the Directory Integrations settings and review the provisioning section where you can configure the import schedule and map additional attributes.
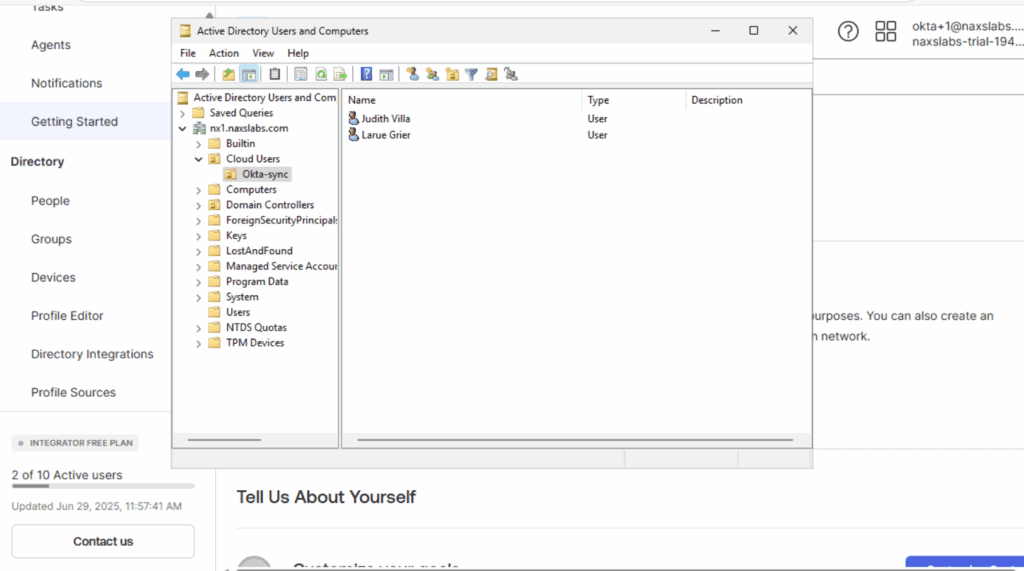
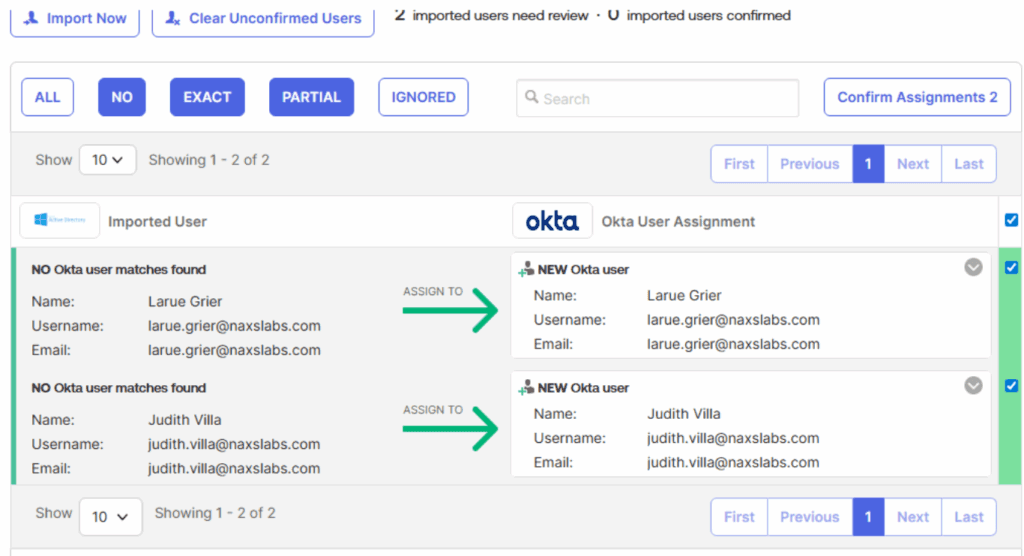
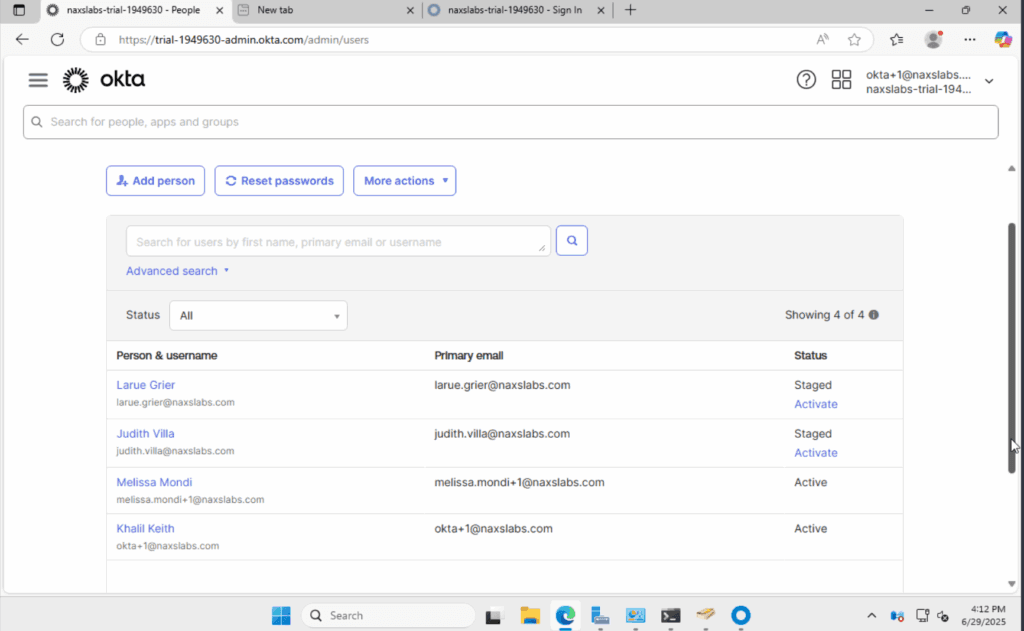
Navigate to the Import tab and click Import Now. Choose full import and confirm the assignments. Navigate to Directory, People to view the newly imported users. Imported users are staged and will receive an enrollment email once an administrator clicks activate.
© NAXS Labs All Rights Reserved
